
In previous episodes, we created our first application with NestJS, leveraging all the commands provided by the CLI. In case you missed it, here is the link to the article.
After generating each component individually via a CLI command, you might have wondered if there’s a faster way to generate all those files, right?
The answer is yes: using the resource command, NestJS allows us to reduce the number of commands to just one! 🎉
One command to rule them all, one command to find them,
One command to bring them all, and in the modules bind them.[semi-quote]
Let’s replace the commands used in the previous article with the new command:
nest g resource todosYou will be prompted to select a transport layer:
- REST API
- GraphQL (code first)
- GraphQL (schema first)
- Microservice (non-HTTP)
- WebSockets
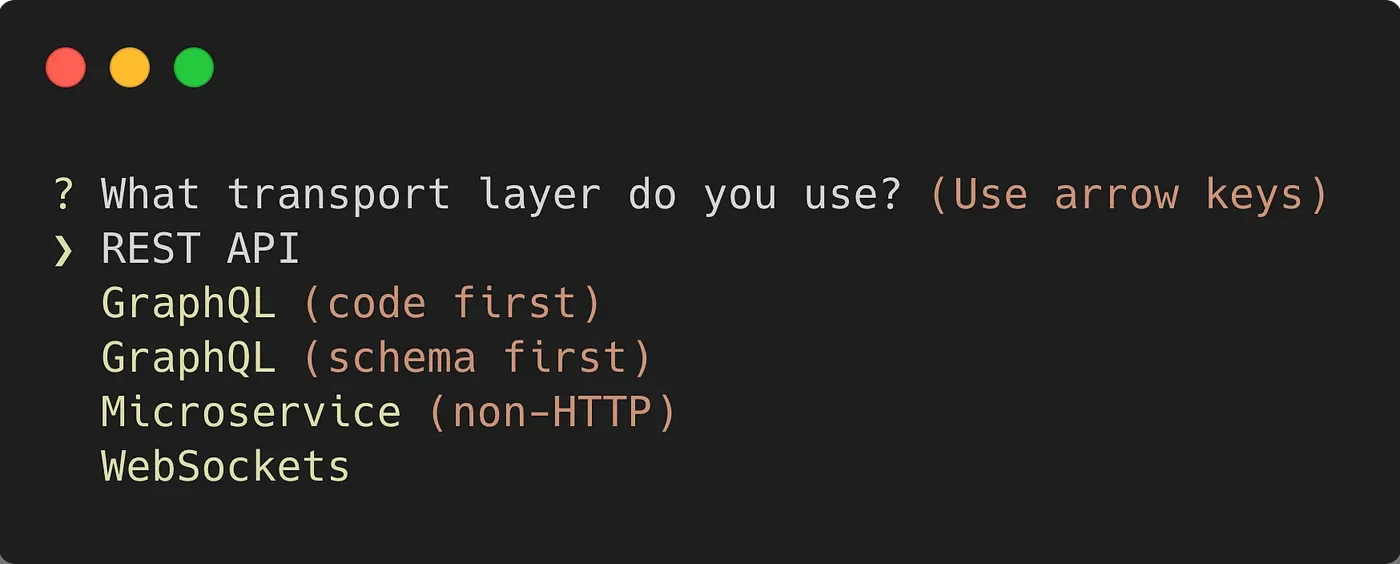
In our case, we will use REST API. For the other options, you can refer to the NestJS documentation.
Once the layer is selected, you will be asked if you want to generate CRUD entry points:
- Y: DTOs and CRUD methods will be generated in the controller and service.
- N: DTOs will not be generated, and no methods will be created in the controller or service.
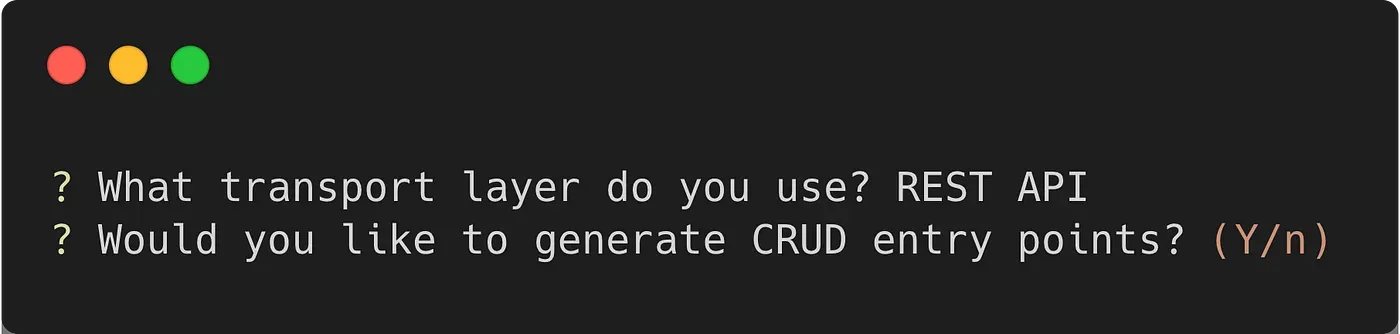
Since we want to implement a CRUD, we will choose Y.
Now the CLI will handle generating everything for us without any manual intervention:
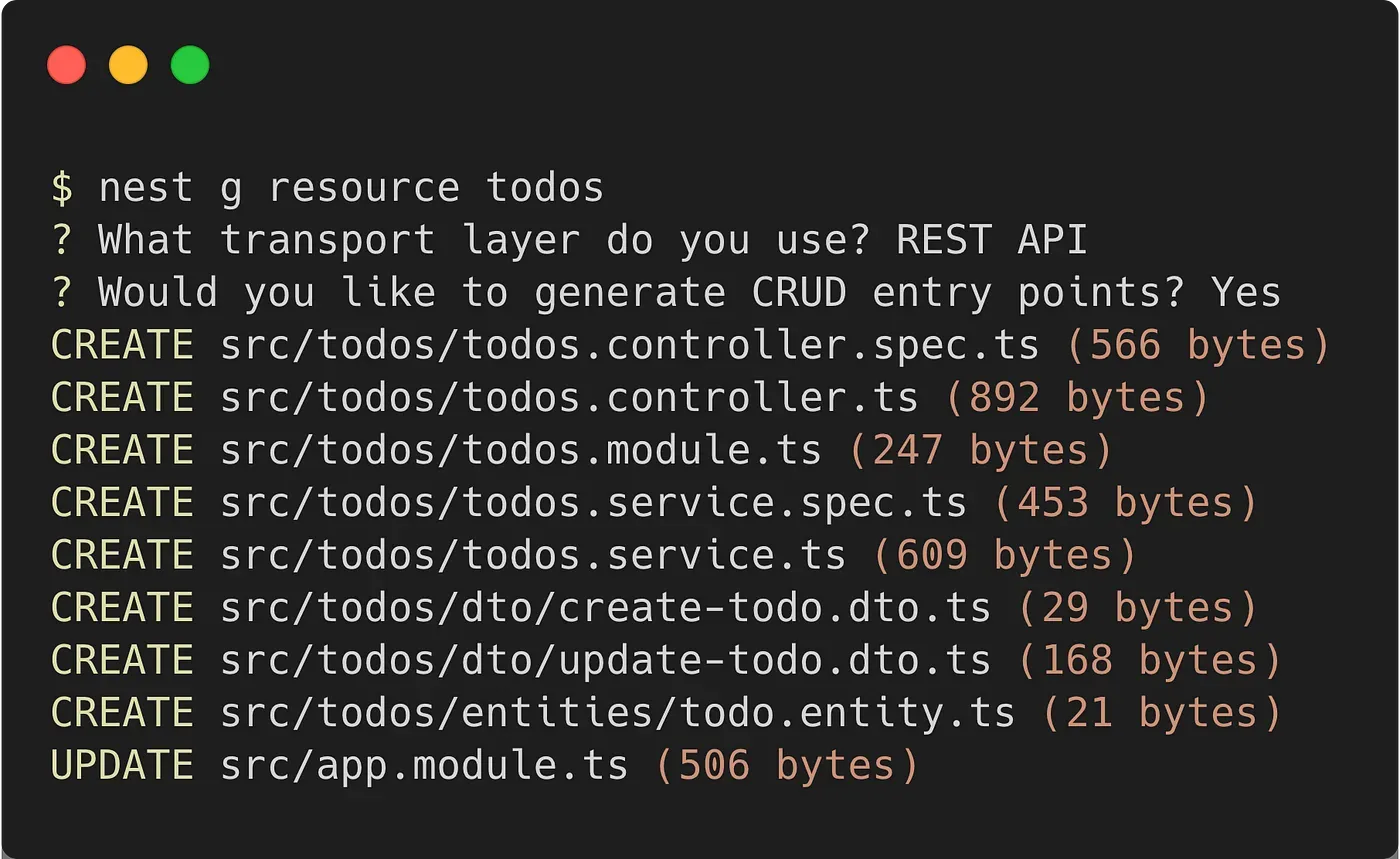
Now all that’s left is to develop our business logic! 🎉
Conclusions
The NestJS CLI is a fantastic tool that allows us to stay focused on developing the business logic of our application without having to deal with the initial boilerplate every time. With the resource command, NestJS further boosts development by reducing the number of operations needed to create a feature to a single command!
If you found this short guide helpful, don’t forget to share it with anyone who might benefit from it 😃
So long, and thanks for all the fish 🐬